NeQter Labs How to Guides
Synology
Step 1: NeQter Input Setup
1. Log in to NeQter and go to the NeQter Settings → Inputs.
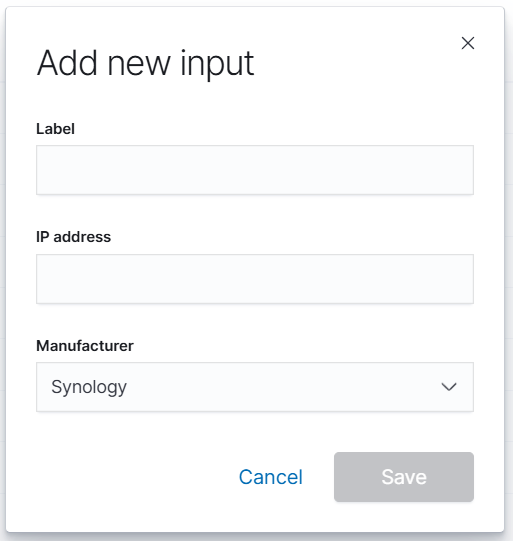
2. Click Add input on the top right corner and fill in the following information:
- Name: Any descriptive name (e.g., Synology-FW).
- IP Address: IP of your Synology firewall.
- Manufacturer: Select Synology.
3. Click Save.
Step 2: NeQter Dashboard Setup
1. Go to NeQter Settings → Dashboards.
2. Expand the Synology section.
3. Toggle Synology to Enabled.
4. Click Apply changes.

Step 3: Synology Configuration
1. Log in to the Synology device and open the Log Center application.
2. In the left navigation bar, select Log Sending.
NOTE: If this option is not available, refer to Log Center Configuration below.
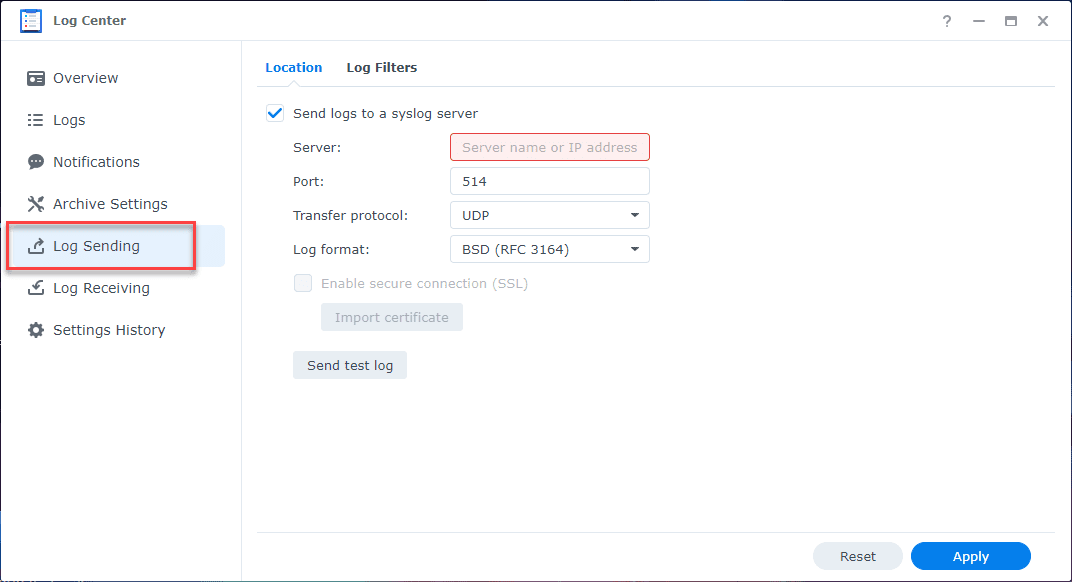
3. On the Log Sending page, configure the following:
- Server: Enter the NeQter IP address.
- Port: 514.
- Transfer Protocol: UDP or TCP (either is acceptable)
- Log Format: BSD (RFC 3164)
4. Click Log Filters, then select which logs to send and the corresponding severity levels.
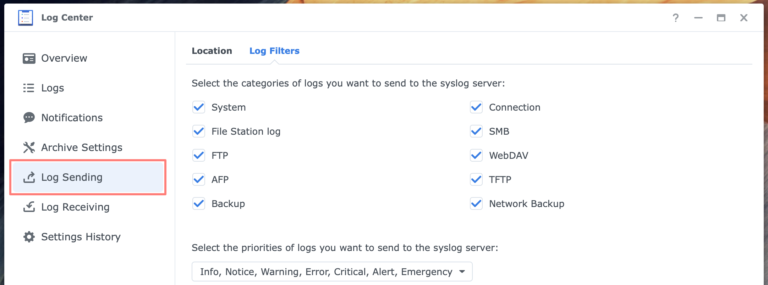
Our recommended default is all logs with all levels selected.
5. Click Apply in the bottom-right corner to save your settings.
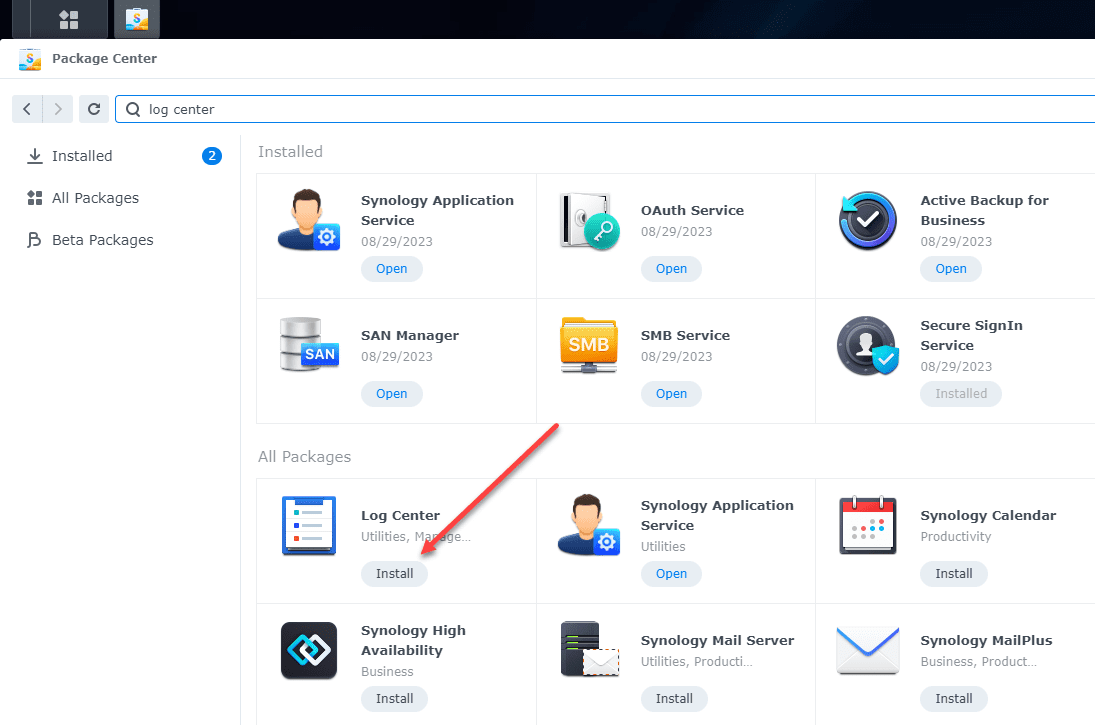
Additional Step: Log Center Configuration
To install the full version of Log Center on Synology, follow these steps:
1. Open Package Center.
2. Find Log Center and click Install.
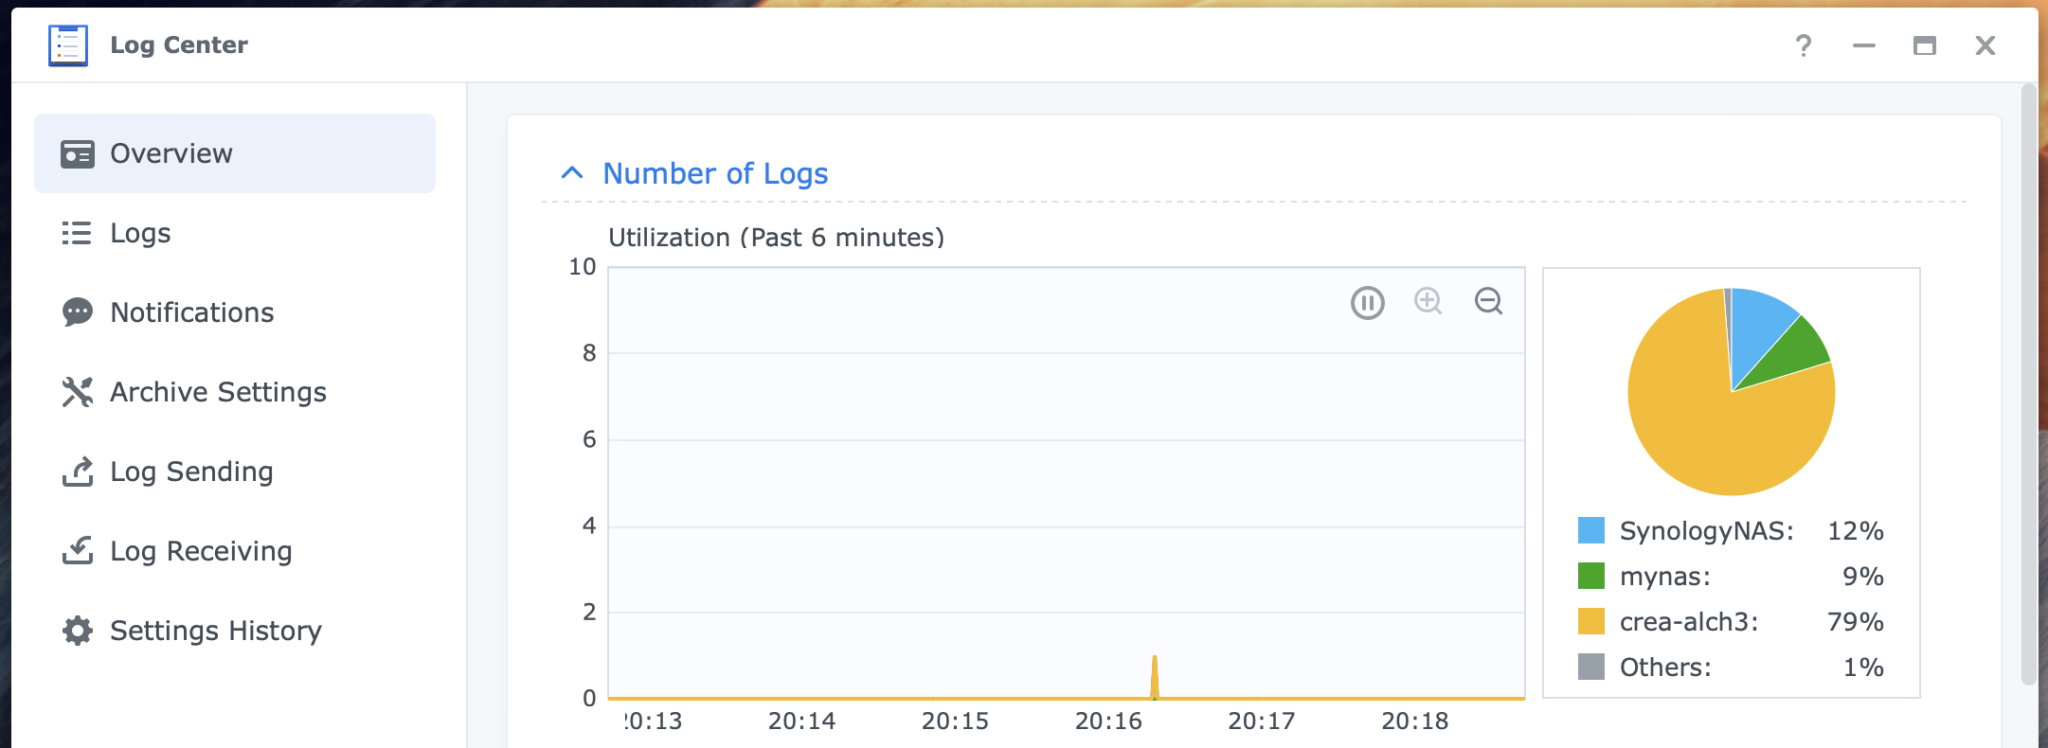
Verifying Connectivity
To verify that logs are being sent correctly to NeQter:
1. Navigate to Log Center → Log Sending on the Synology device.
2. Click Send test log.
Within a few minutes, a test log should appear on the Synology page in NeQter, confirming connectivity. If no new logs appear after completing the steps above, contact support here for further assistance.