NeQter Labs Initial Setup Guide
Office 365
Register an Application
When first entering the O365 Input Tool users will first need to click the Add Office 365 Tenant button on the top right which will bring up a configuration slideout to fill in with your Tenant Information. It is here that users will input their Office 365 Information and register a App Registration in their Azure portal. This will establish credentials that NeQter can use to access the Office 365 Management API.
NOTE: Registering an application requires access to the Microsoft Azure portal with administrator rights.
1. In your Microsoft Azure portal, navigate to Azure Active Directory from the list of services. If you don’t see Azure Active Directory in that list, you can select All services and search for it there.
2. Navigate to App registrations on the left hand bar.
3. To register an application, click New registration.
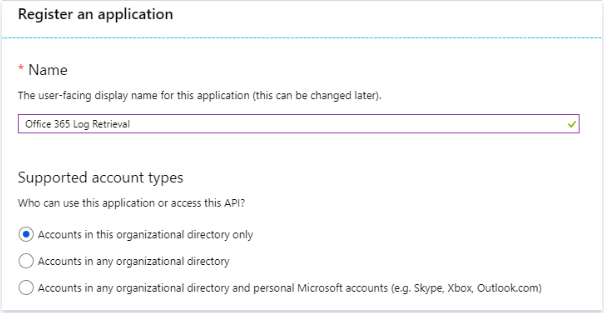
4. Give the application a name.
5. Select Accounts in this organizational directory only for the supported account type.
6. Click Register at the bottom of the form.
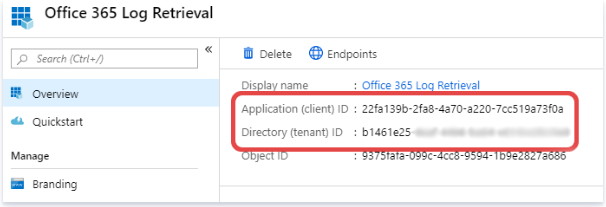
7. From the newly registered application’s Overview section, record the Application (client) ID and the Directory (tenant) ID values. You’ll need these values to complete the configuration.
Next you want to set up a secret client, to do this follow these steps:
1. Navigate to Certificates & secrets from the application’s menu.
2. Click New client secret.
3. Give the client secret a description.
4. Select 24 Months for the expiration.
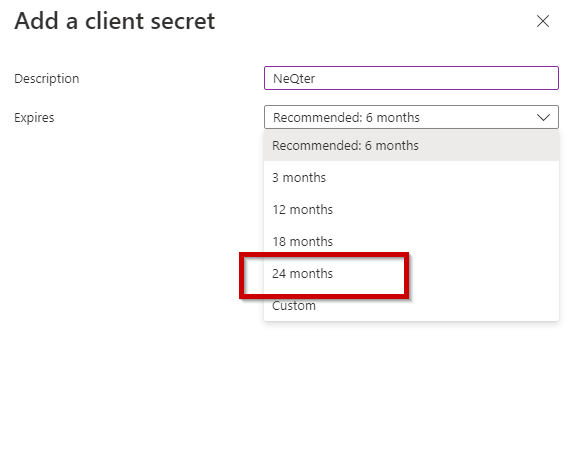
NOTE: 24 Months is the highest amount of time Microsoft will allow, we recommend setting a reminder near the expiration date to setup a new client secret and reconfigure your O365 to utilize the new one.
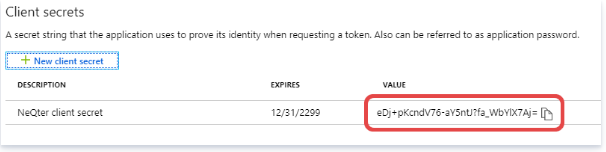
5. Record the value of the newly created client secret.
NOTE: You’ll need this value to complete the configuration and won’t be able to retrieve it later. It will only appear after the secret is first created.
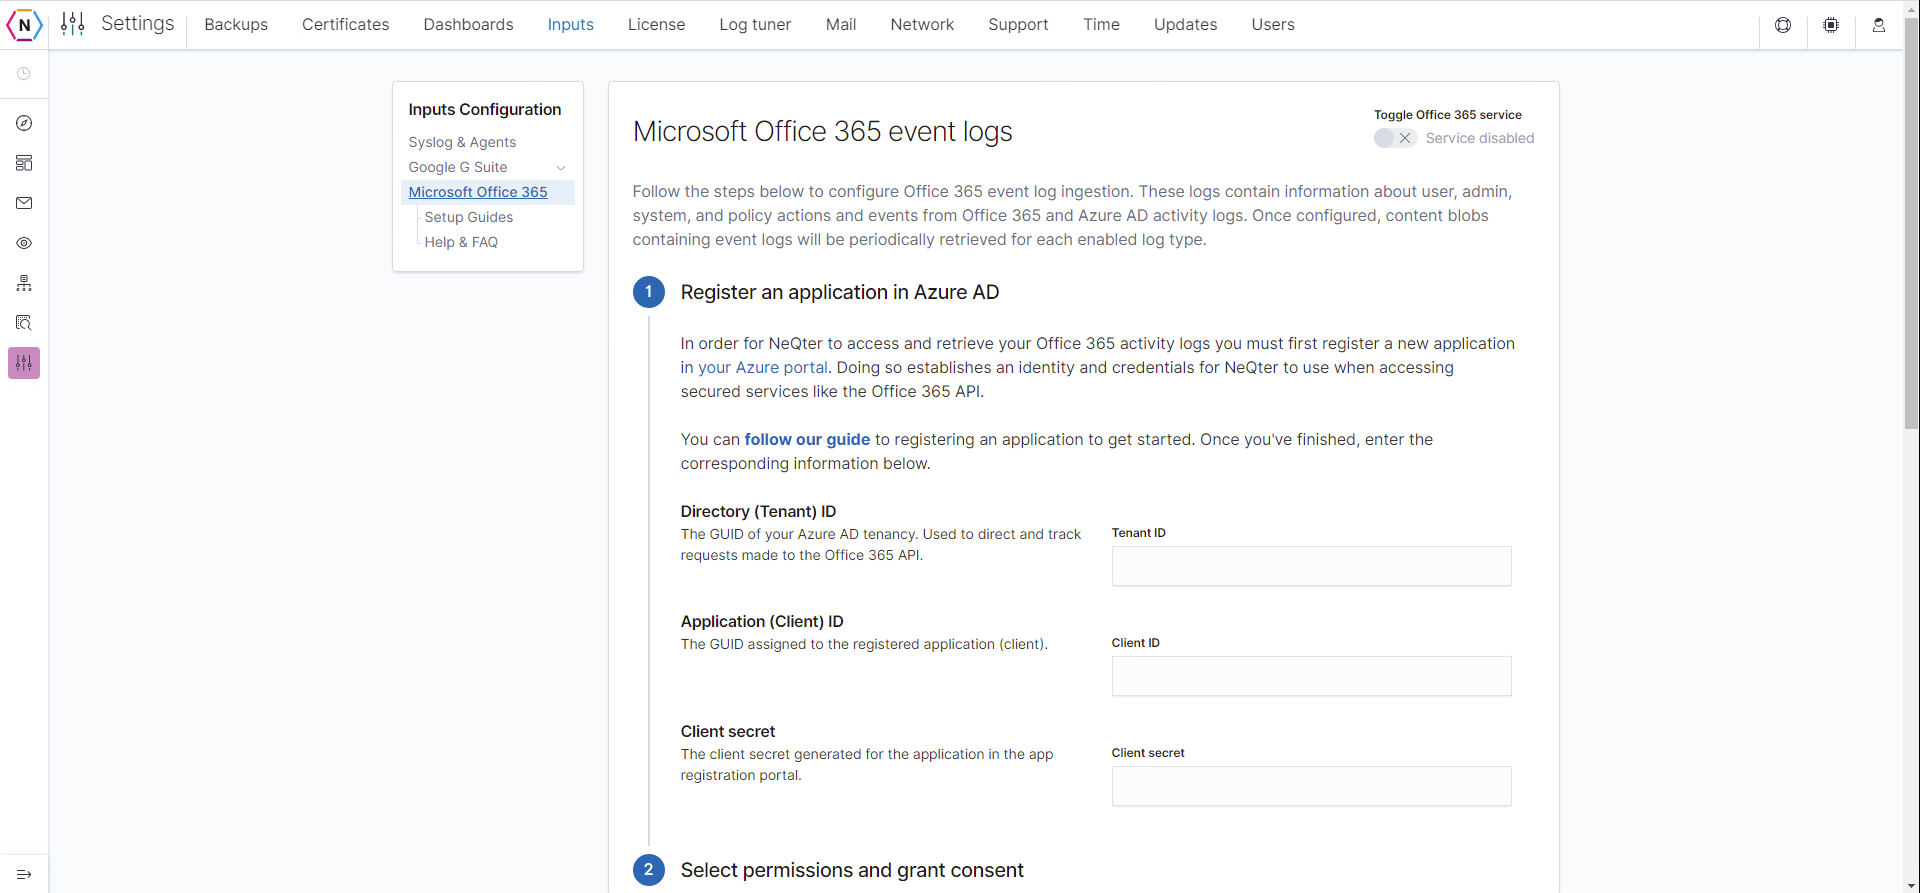
Once you’ve completed the above steps, enter the tenant, client, and client secret values you’ve gathered in the NeQter configuration form.
Next you will need to give the application you just created permissions needed for your NeQter product to utilize Office 365’s Audit Logs.
1. Navigate to the API Permissions menu and then select “Add a Permission” on the top left.
2. Next Scroll down the options available to you until you find Office 365 Management API on the right menu.
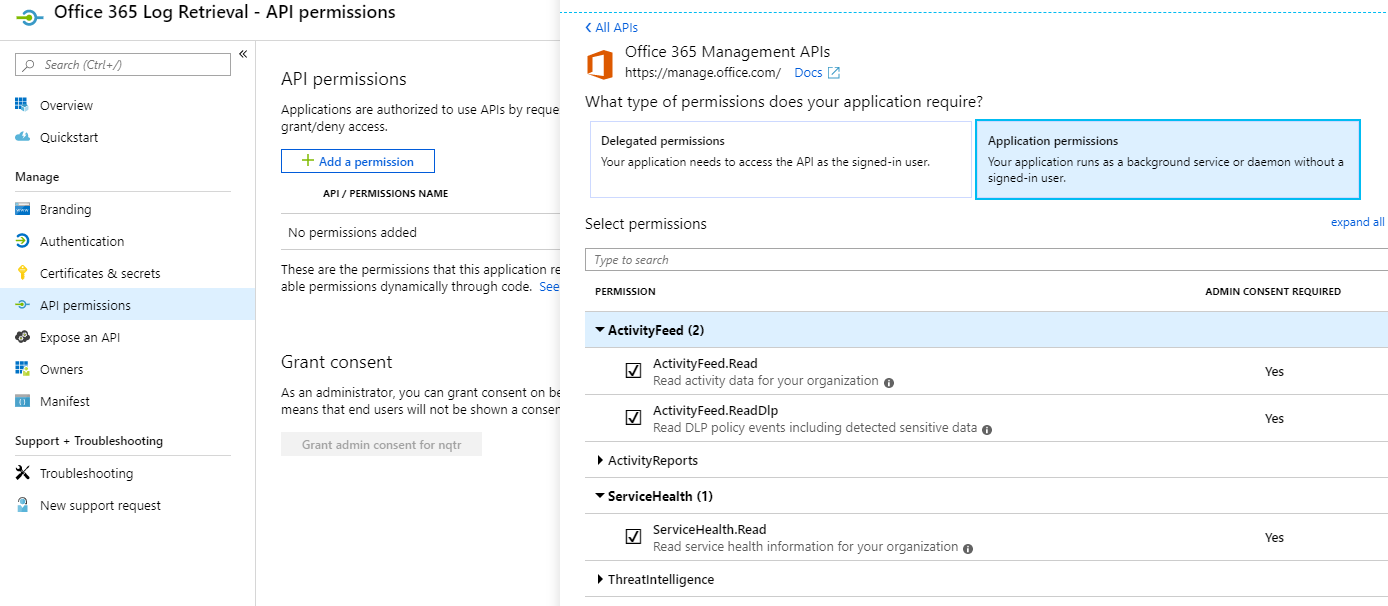
3. Once selected, you will see two options on the top of the listing, “Delegated Permissions” and “Application Permissions”; select Application Permissions and look for ActivityFeed.
4. Select ActivityFeed and allow ActivityFeed.Read.
NOTE: If you want to have ULP Logs allow ActivityFeed.ReadDlp.
5. Select ServiceHealth and then allow ServiceHealth.Read.
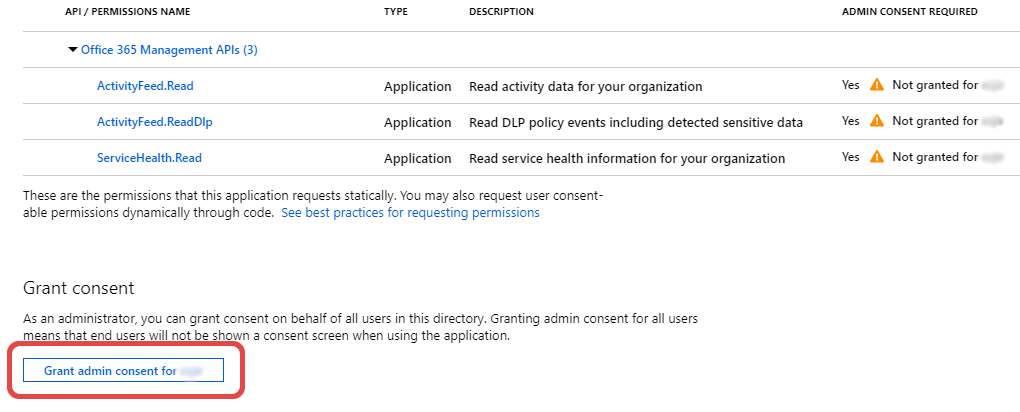
6. Click Add Permissions
Once you’ve added the permissions you need, on the bottom left of the page there will be a Grant admin consent Button, click it and select Yes on the dialogue box the appears.
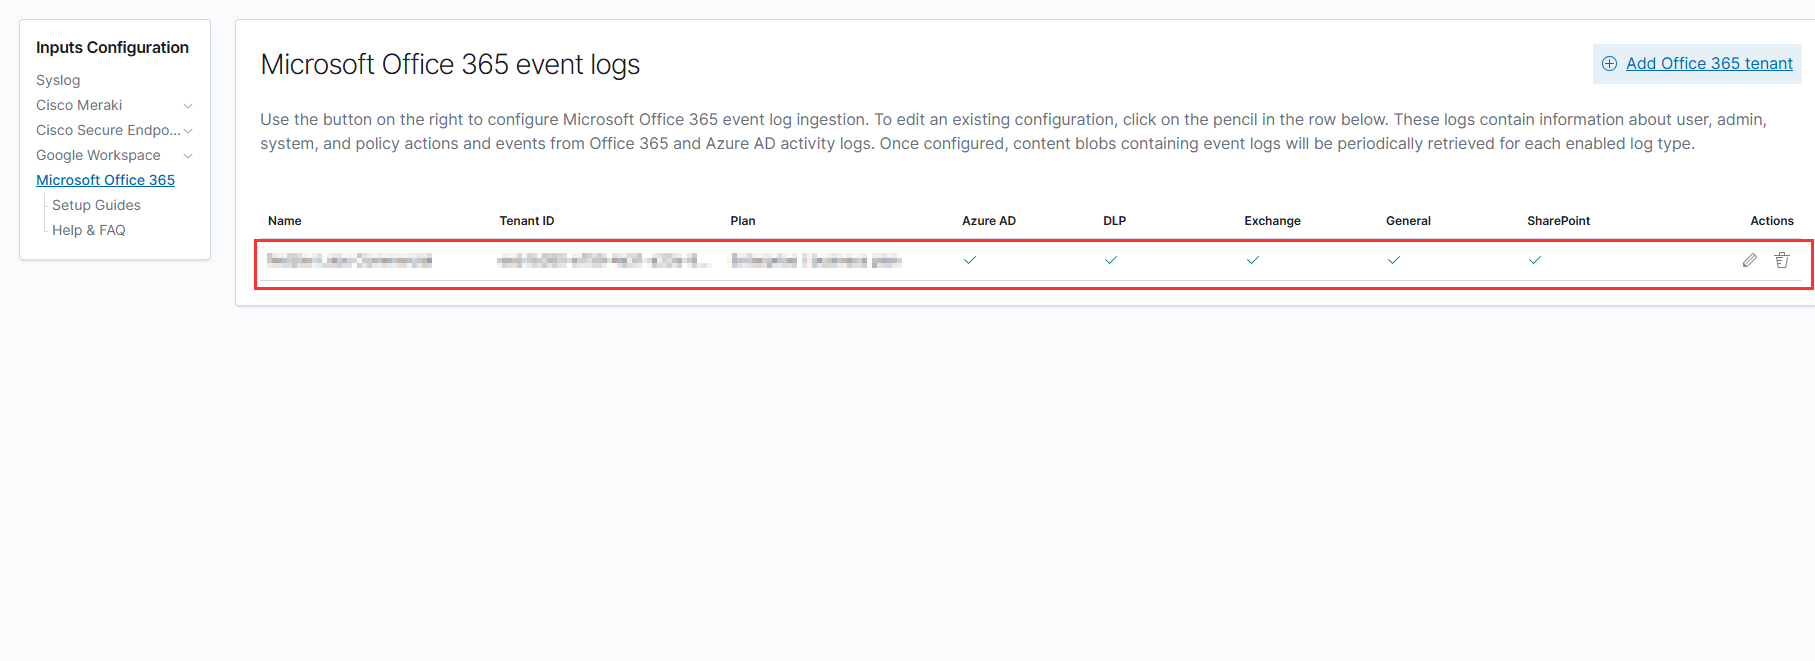
Now go onto your NeQter Application and go to Settings > Inputs, once you are in the inputs tab look for Microsoft Office 365 in the menu on the top left of the page. Select it and then where you see Tenant ID, Client ID and Client Secret copy and paste the ID values you recorded from earlier. Next Choose which Logs you wish to receive and then click Save Settings and Enable.
Now the created O365 Tenant will appear in your O365 Input list which can be edited or deleted later as needed.