
NeQter Labs Initial Setup Guide
File Monitoring
IMPORTANT: SOHO users without an AD Domain or DCs that do not have a file server can skip this section.
In order to populate the File Monitoring dashboard, we must pull logs from the File server(s) with the file monitoring agent.
NOTE: If you have completed this next step for Active Directory and your file server is on your domain controller, you may skip to “Navigate to the shared folder…“.
You can find out more information about installing our agents by visiting our Agent Manager Deployment How To Guide and our Agent Manager documentation for how to setup winlog collection.
GPO
The next step is creating a group policy to capture the correct information for the File Monitoring Dashboard. In the start menu, search for and open Group Policy Management.
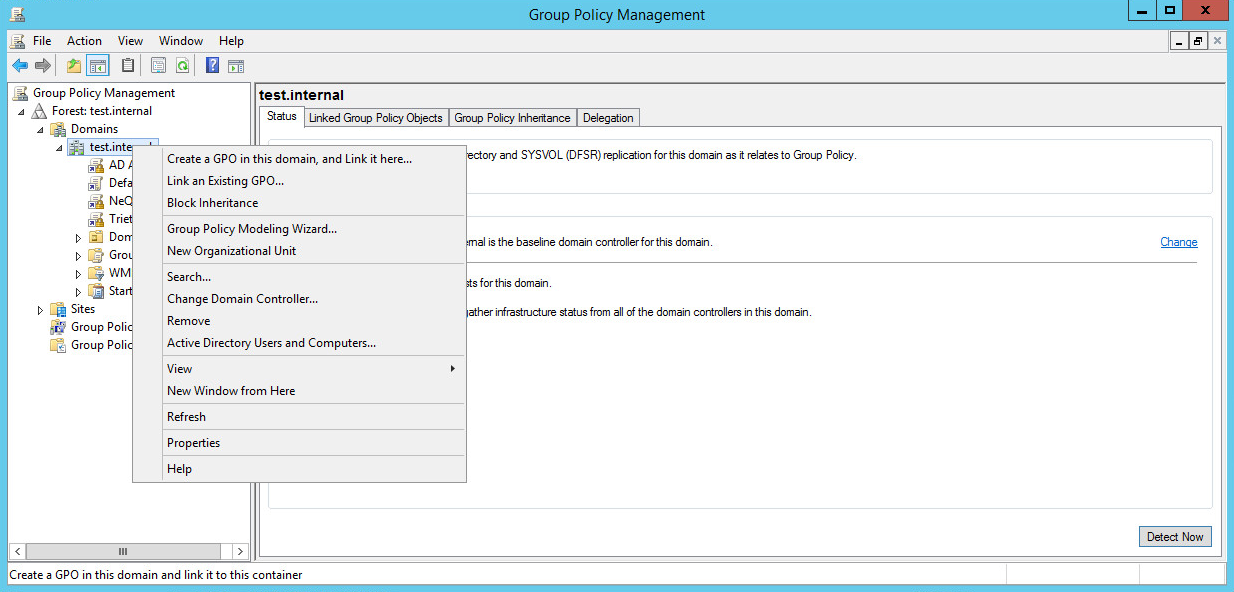
In the left-hand menu, you should see your internal network underneath the Forest > Domains > {Your domain}. Right click on your domain and select Create a GPO in this domain, and Link it here… A prompt will appear to give the GPO a name of your choosing.
NOTE: The name should be able to quickly convey what exactly this policy group covers, such as NeQter File Sharing or FS for short!
Apply Policies
Once you have created a GPO, in the left-hand menu, there is a tab called Group Policy Objects. Look for the GPO you just created and then right click.
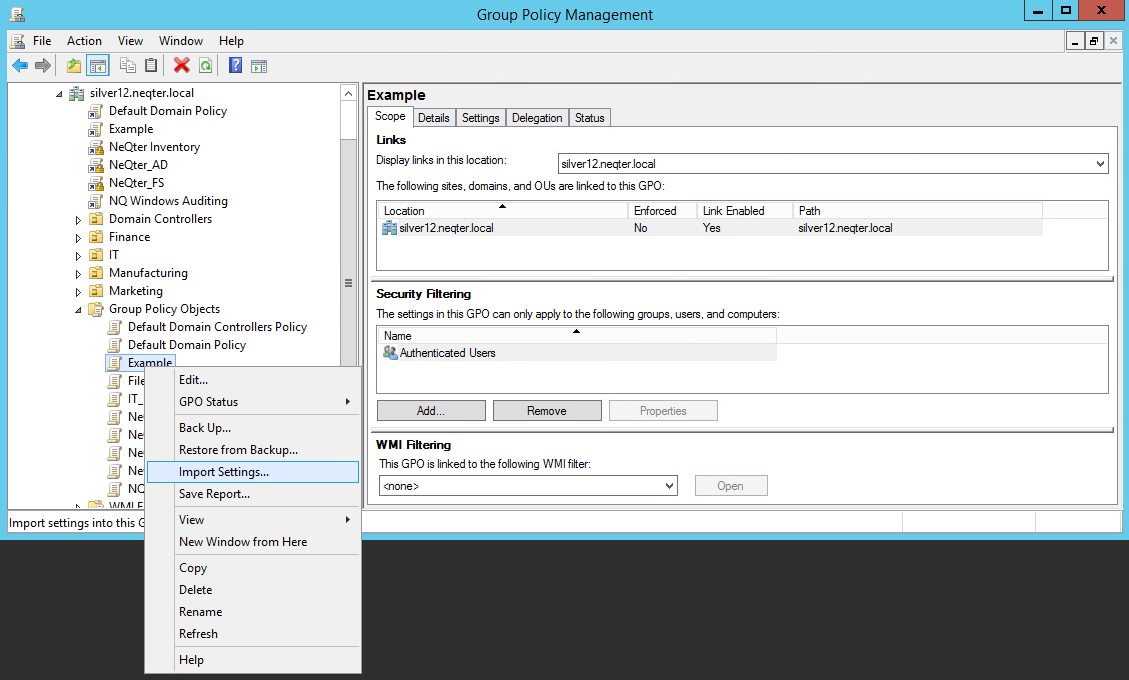
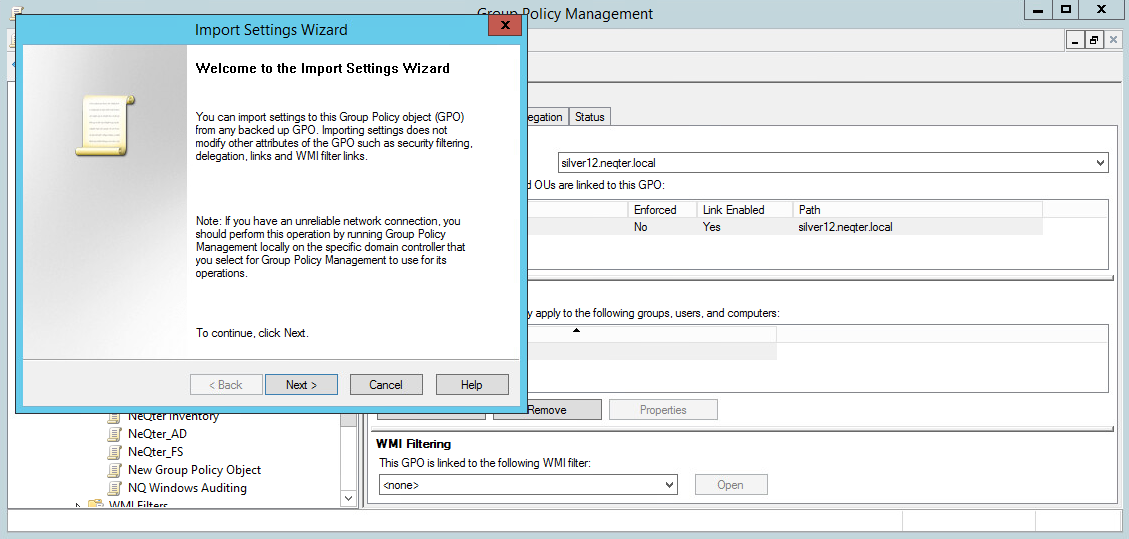
Click Import Settings… and the Import Settings Wizard will pop up. Click Next to continue.
Now you will see an option for Backup GPO. Do not choose anything to back up since we are overwriting an empty GPO nothing needs to be backed up anyways and click Next.
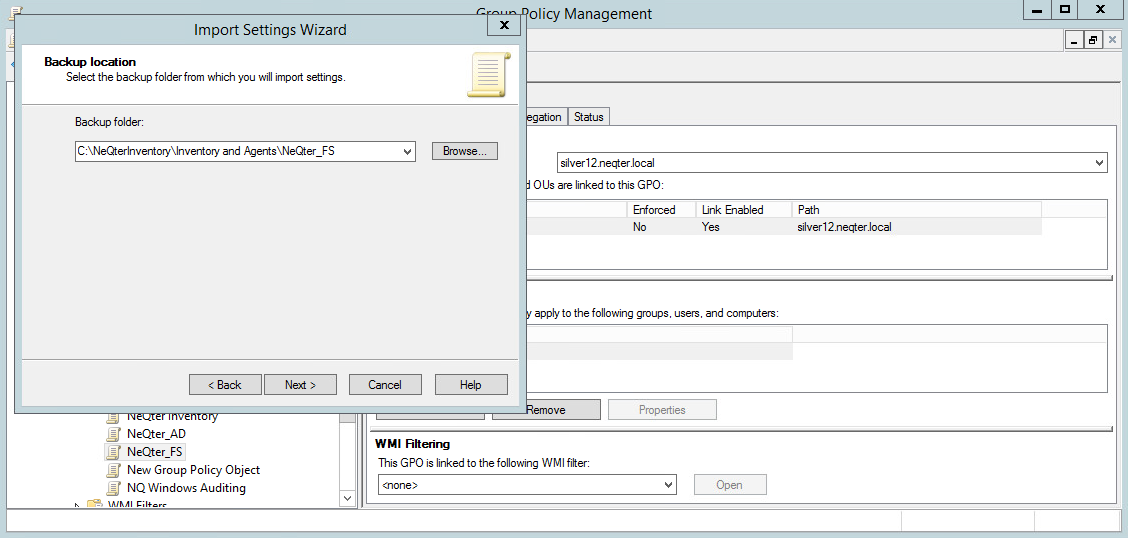
You will now see Backup Location; choose Browse, and search for the folder NeQter_FS. Choose this file for the backup location. Click Next once you have chosen the file.
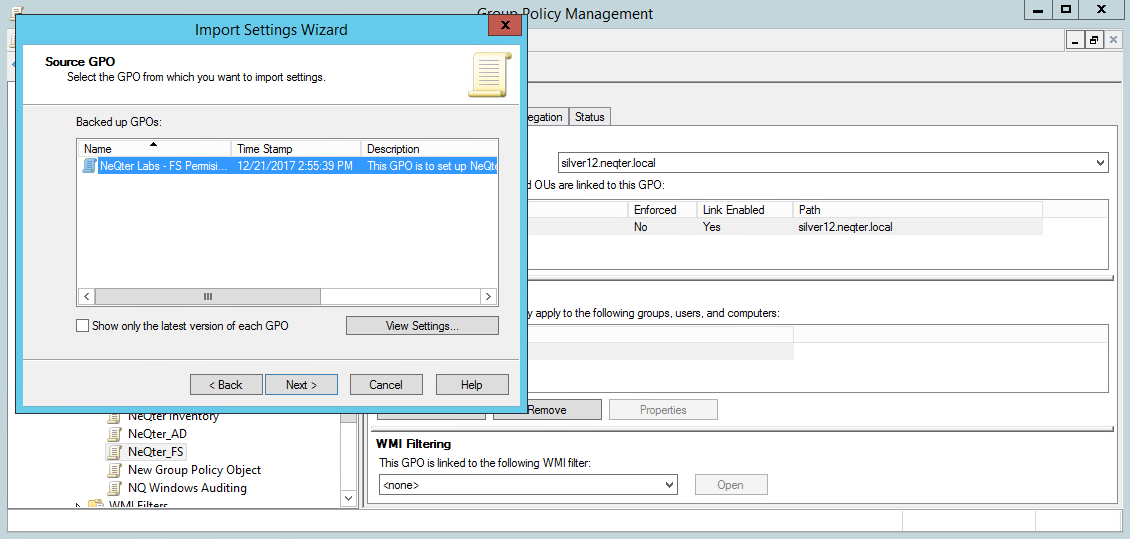
You will now see Source GPO. Use the GPO that you just backed up and click Next.
The screen will show you that it is scanning the backup, and once it finishes, click Next.
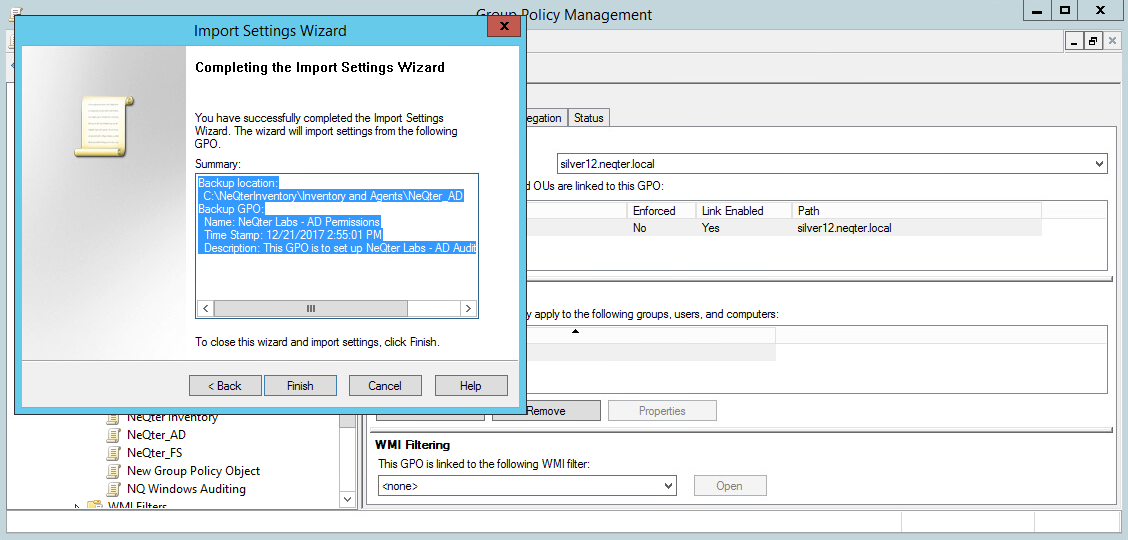
Click Finish on the Completing the Import Settings Wizard page.
You should now see GPO: NeQter FS…Succeeded. If you do not get this message it means something went wrong and you will need to repeat the steps above.
Select your GPO in the left-hand menu and navigate to Scope, then click the Add button in the Security Filtering section on the right-side menu. From here you can add your file server(s). Ensure that under Object Types, Computers is selected.
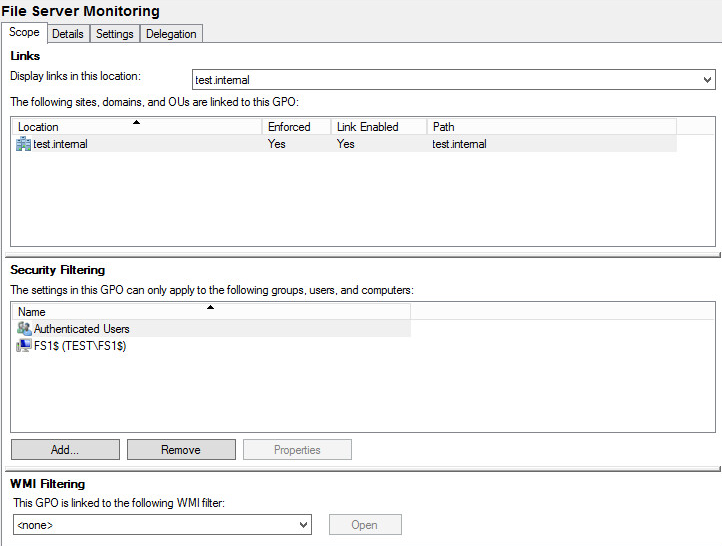
Once you have added all the servers that you would like, right click the GPO you created that is located directly under the local domain not in the GPO Folder that was previously opened and right click, then select the Enforced button to enforce the GPO. Now all the servers in your Security Filtering section will be audited.
NOTE: Ensure under Object Types, Computer is selected.
Setting up a audit
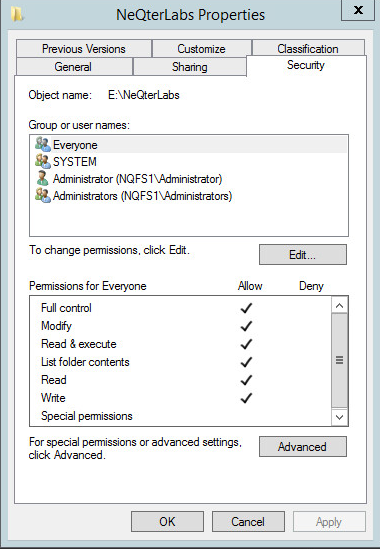
Navigate to the folder that you want to audit, and open the Properties of that shared folder, click the Security tab and then on Advanced.
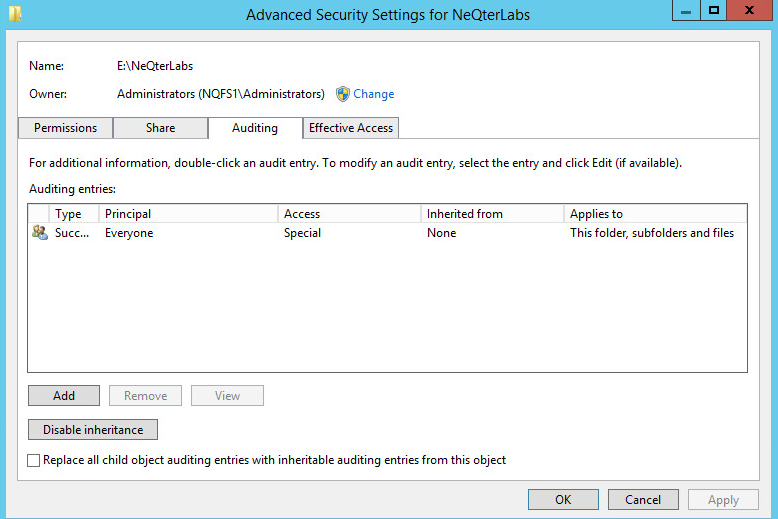
Click on the Auditing tab, if there is UAC prompt then click Continue and then click on the Add button.
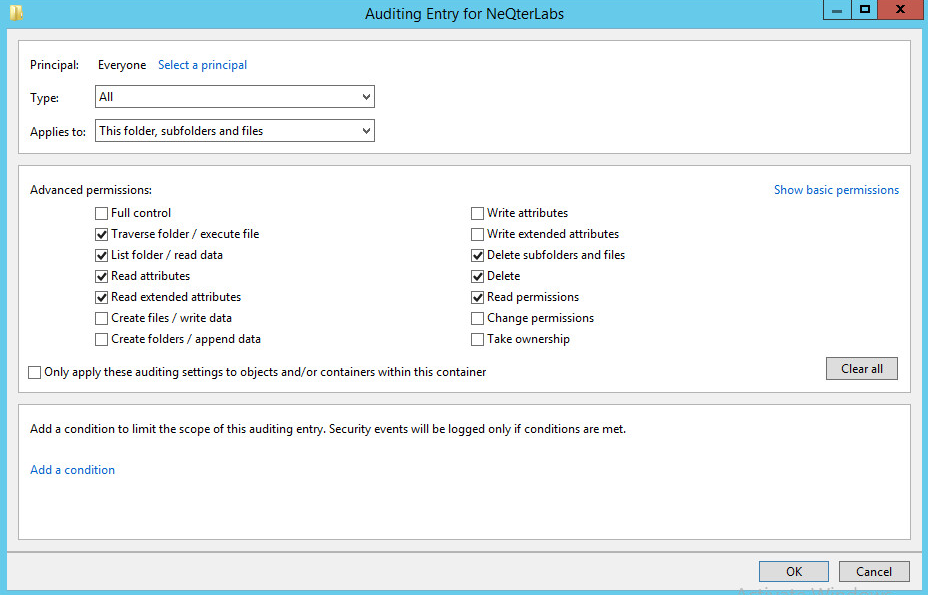
Click Select a Principal, search for the Everyone security group and then click on the OK button. Change the Type to All, click on Show Advanced permissions, check the boxes next to Delete subfolders and files and Delete and then click on the OK button.
Put a check next to Replace all child object auditing with inheritable auditing from this object then click OK. Now the information will be sent to the NeQter Compliance Engine after the servers have been restarted and the GPO has been applied. In order to apply the GPO, you will have to force a GPO update. To do this, open the command prompt, and type in gpupdate /force, then press Enter.