NeQter Labs How to Guides
Table of Contents
First Scan Task Guide
The Vulnerability Scanner is a important tool in the NeQter Core’s Toolkit which allows its user to scan their local network for any vulnerabilities that bad actors can use to gain entry into their local device(s). While the vulnerability scanner is talked about in great detail in our Vulnerability Scanner Section in our User Manual we will instead be looking at how to create a quick and sophisticated scan from step one to the end. For a more comprehensive overlook of our scanner tool you can go to the Vulnerability Scanner documentation page for more information.
Creating a scan task
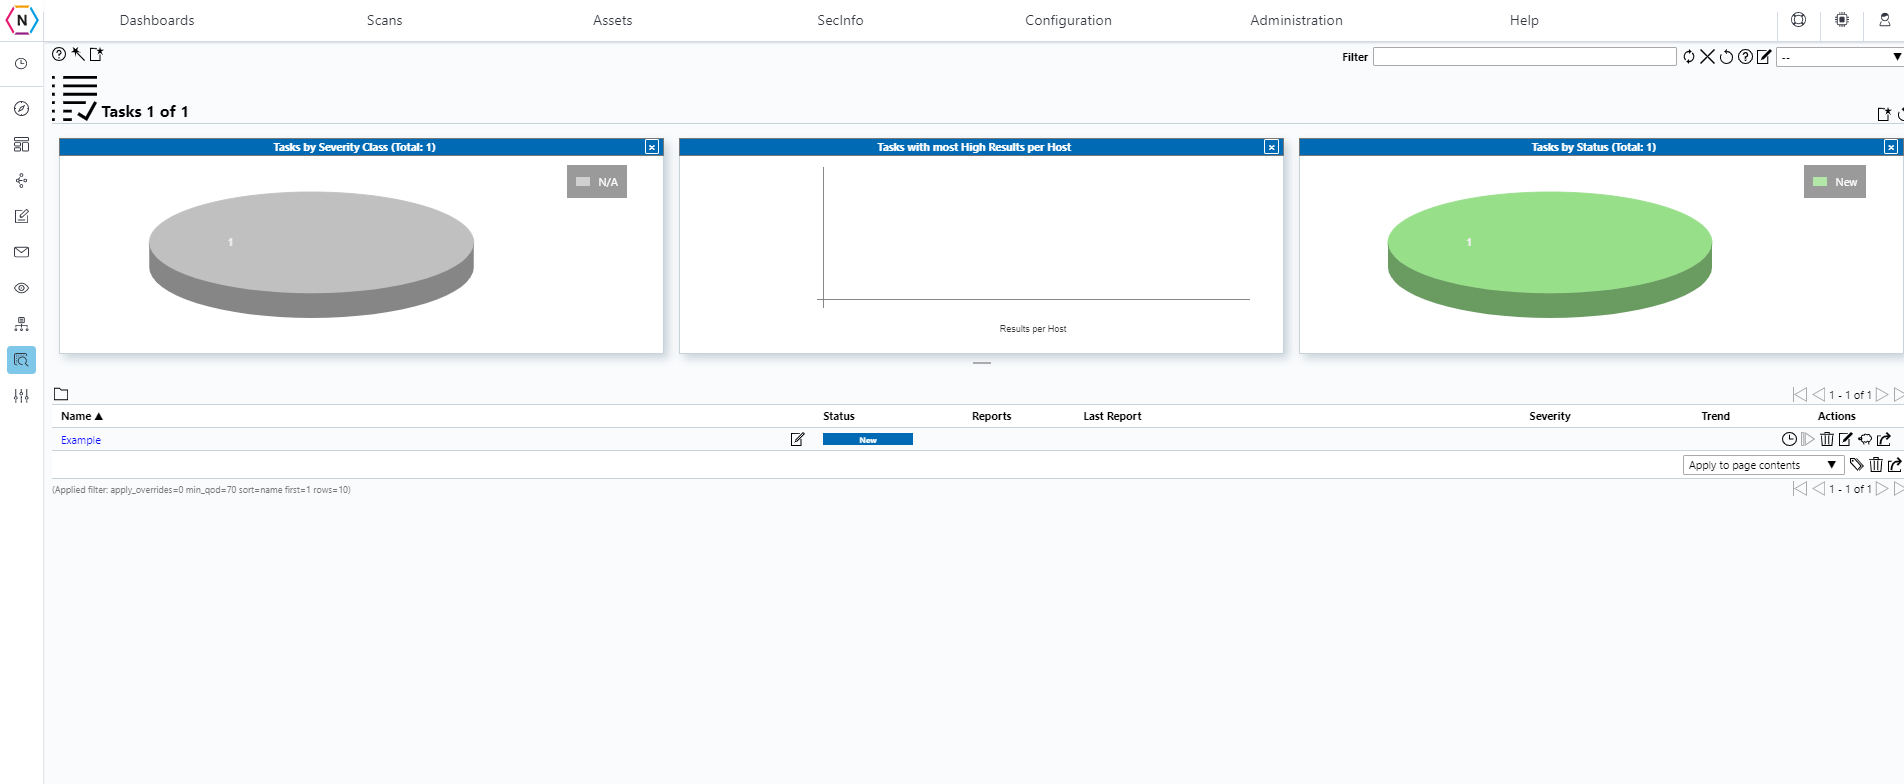
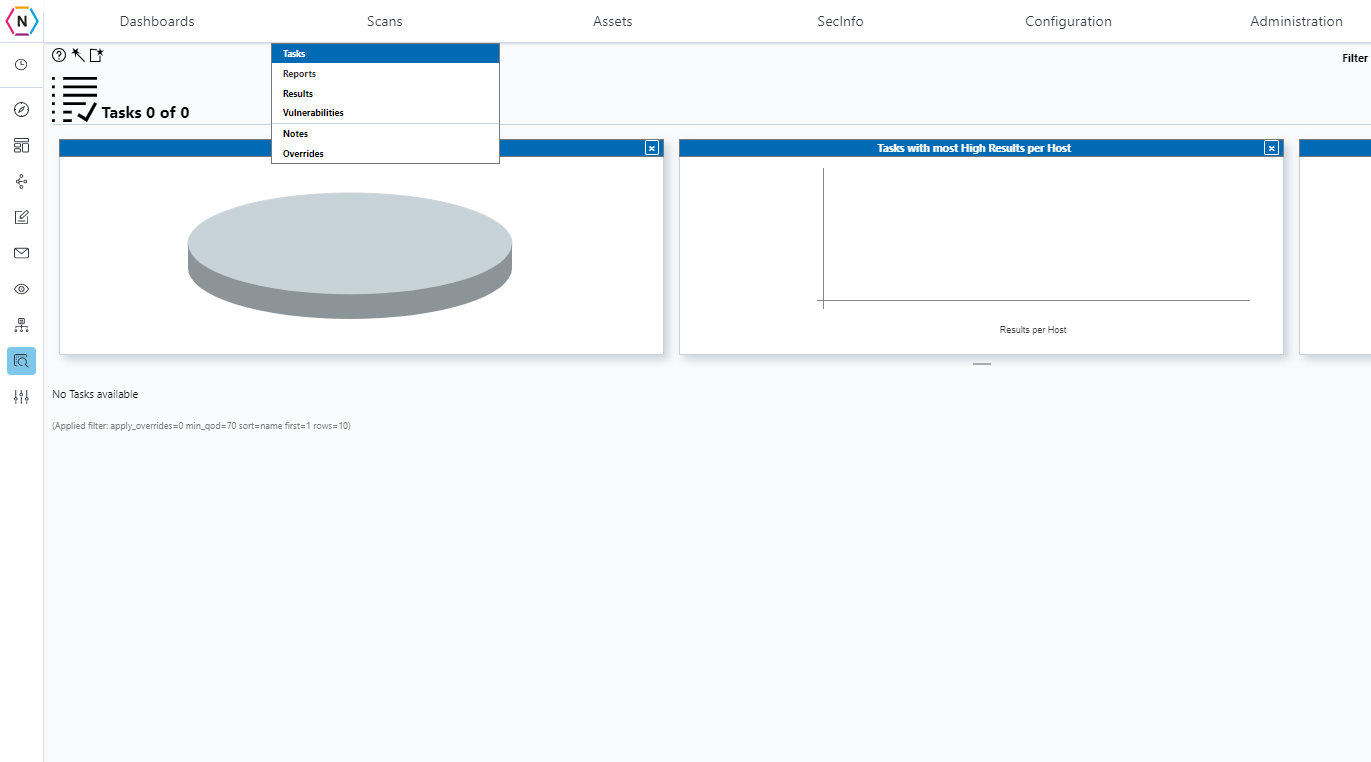
The first step that will need to be taken is to navigate to the Vulnerability Scanner page on your NeQter WebUI and then navigate to Scans > Tasks.
Next, you will see a Page icon like the one shown below:
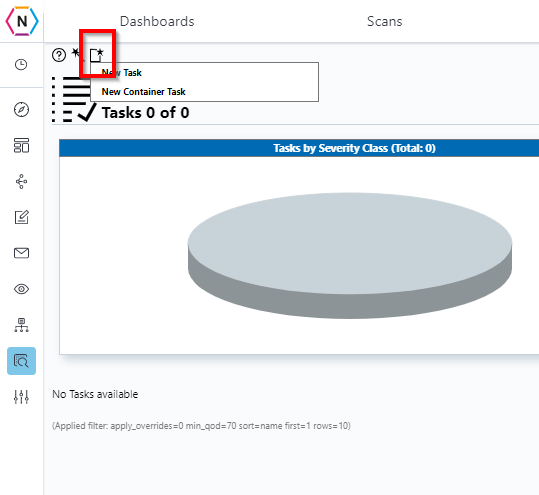
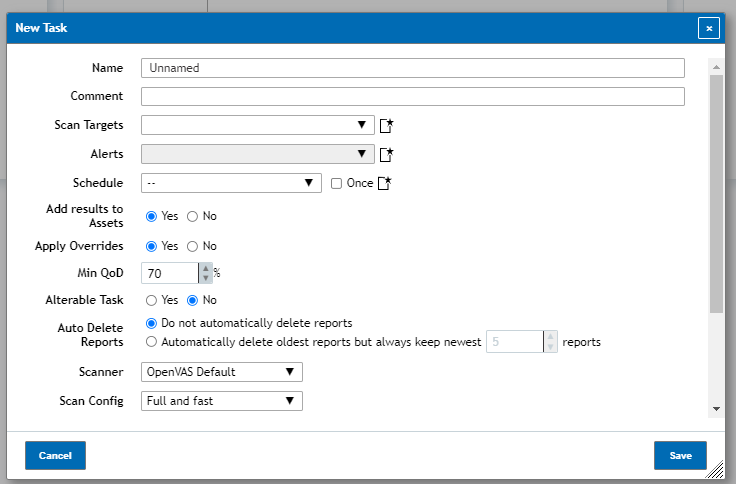
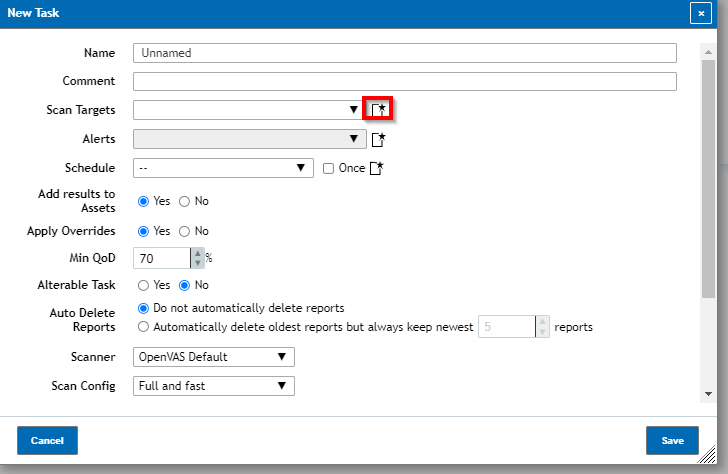
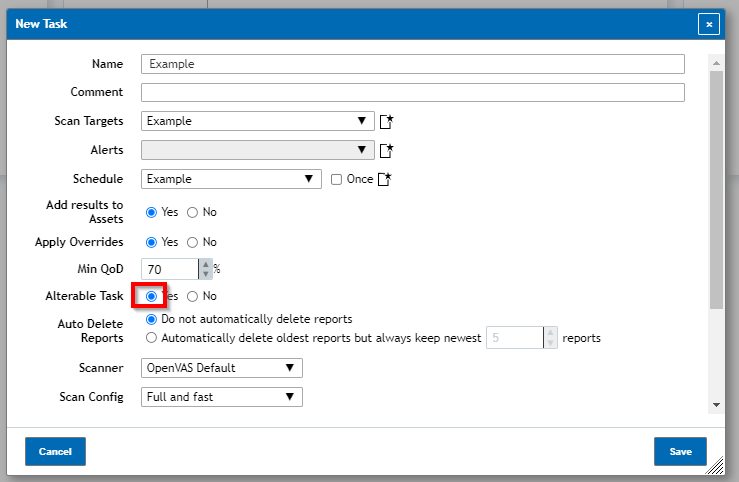
Mouse over the icon and then select New Task. You should now see the following window:
Creating a Target
Once you have the new scan task opened you can give it a name and from there you’ll first need to create a target. A Target refers to the IP Addresses you’d like the scan task to look at (You can find out more information here).
To create a target for the scan to use, click on the New Target button.
When clicked on a window should appear where you can create your New Target. All you need to do is give the target a unique name and then you can assign whatever number of hosts you’d like. Hosts can be inputted in any combination similar to the following:
192.168.1.0/24
192.168.1.1-255
192.168.1.1, 192.168.1.2, (and so on)
When finished the target should look like the following:
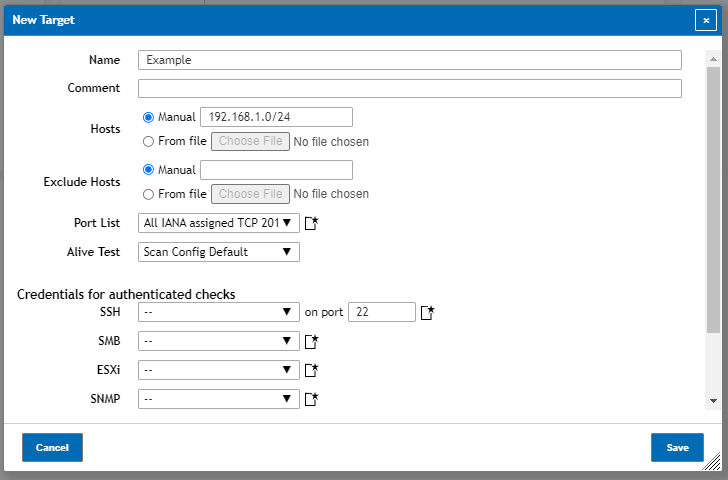
NOTE: You can use the ‘,’ to denote multiple different entries, allowing for different IP ranges / specific hosts to be scanned via the same target.
Once finished, click the Save button to continue.
Creating a Schedule
If you plan to manually start each scan task you can skip this section.
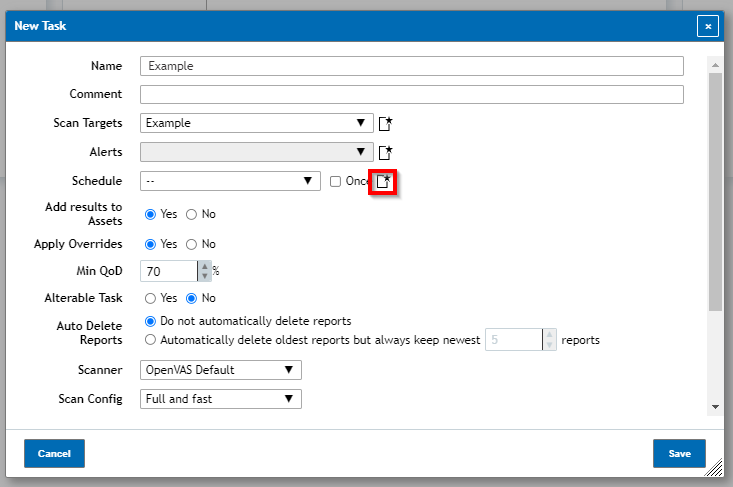
However if you’d like the scan to run on a automatic basis then like with targets, to create a schedule to use for automated scans click on the New Schedule button.
NOTE: If you want to find out more information about schedules you can check out our documentation here.
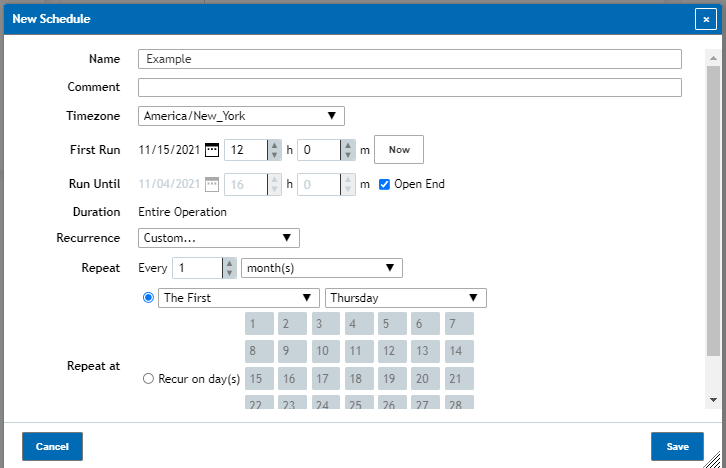
Once on the New Schedule page you can fill out the name of the schedule, select a Timezone (Based on cities in that timezone) for the time to reference and then select the date and time you’d like to have the scan run for the first time. It’s recommended for the time frame to be during peak hours and the day to be during a working day for best results.
After you have your first run time setup you can then go to recurrence to have the schedule repeat if you’d like it to reoccur, we’d recommend selecting custom and then selecting the time frame to repeat for every month during one of the weekdays. If reoccurrence is set to monthly it will just do a scan on the same date of each month, so if 11/15/2021 is selected then the next date would be 12/15/2021 which may not be during a optimal time.
Once your schedule is ready you should have something similar to the following:
When done you can click Save to finish.
Finishing your scan task
After your Schedule and Target is setup the rest is mostly optional, we recommend however creating a alert which can be used to send out a email report to an email of your choosing and enabling Alterable Task so that if you need to edit the vulnerability scan task in the future you can do so with no issues.
Once you have everything all set you can click the Save button and now your new scan task will be visible in the Tasks page.