
NeQter Labs How to Guides
Debian Linux Agent Setup Guide
*Disclaimer*
NeQter’s Debian Linux Agent only works on Debian based linux systems. Red Hat based distros will need to use NeQter’s Red Hat Agent.
In this How To Guide we will discuss how to download and install Neqter’s Debian Linux Agent through a Linux Terminal. All tools used are basic tools found on most Debian-Based Linux Distros, for the example below we used Ubuntu 18.04 with step by step instructions attached.
Step 1: Download the agent file
Below is a link to our agent page where you can find our latest linux agents.
On the Agent Download Page select the agent version that matches best with your system. Ubuntu 22 & Above / Other Debian Operating Systems should use the Ubuntu 22 variant.
For downloading using linux terminal you will need to use something like wget which should be pre-packaged with most Debian-based operating systems and you’ll need to copy the link found under the work drive for the file. Do not copy the folder worklink itself as this will not work.
In order to copy the file link download itself go onto a system with a browser, open the work drive and start downloading the agent and stop it before it finishes, then check your browser’s Download History and copy the link found there and use that with your linux system.
Example of download link on chrome: 
Either paste that into wget if you’re connecting via ssh / virtual terminal or note down the file path and type it in by hand at the linux system. Below is an example of wget being used to download the file:

NOTE: For the above example the file downloaded to the /home/neqter/ folder, as that is the user who initiated the download. Depending on local settings this foldername will most likely be different, make sure to check and see where your download folder is located for exact location to check for successful download.
If the linux device is able to access networks share users can also have the file downloaded onto another device and sent over to the linux system that way as well if they wish not to copy down the above URL.
Step 2: Unzip file
Skip this step if the download is not zipped.
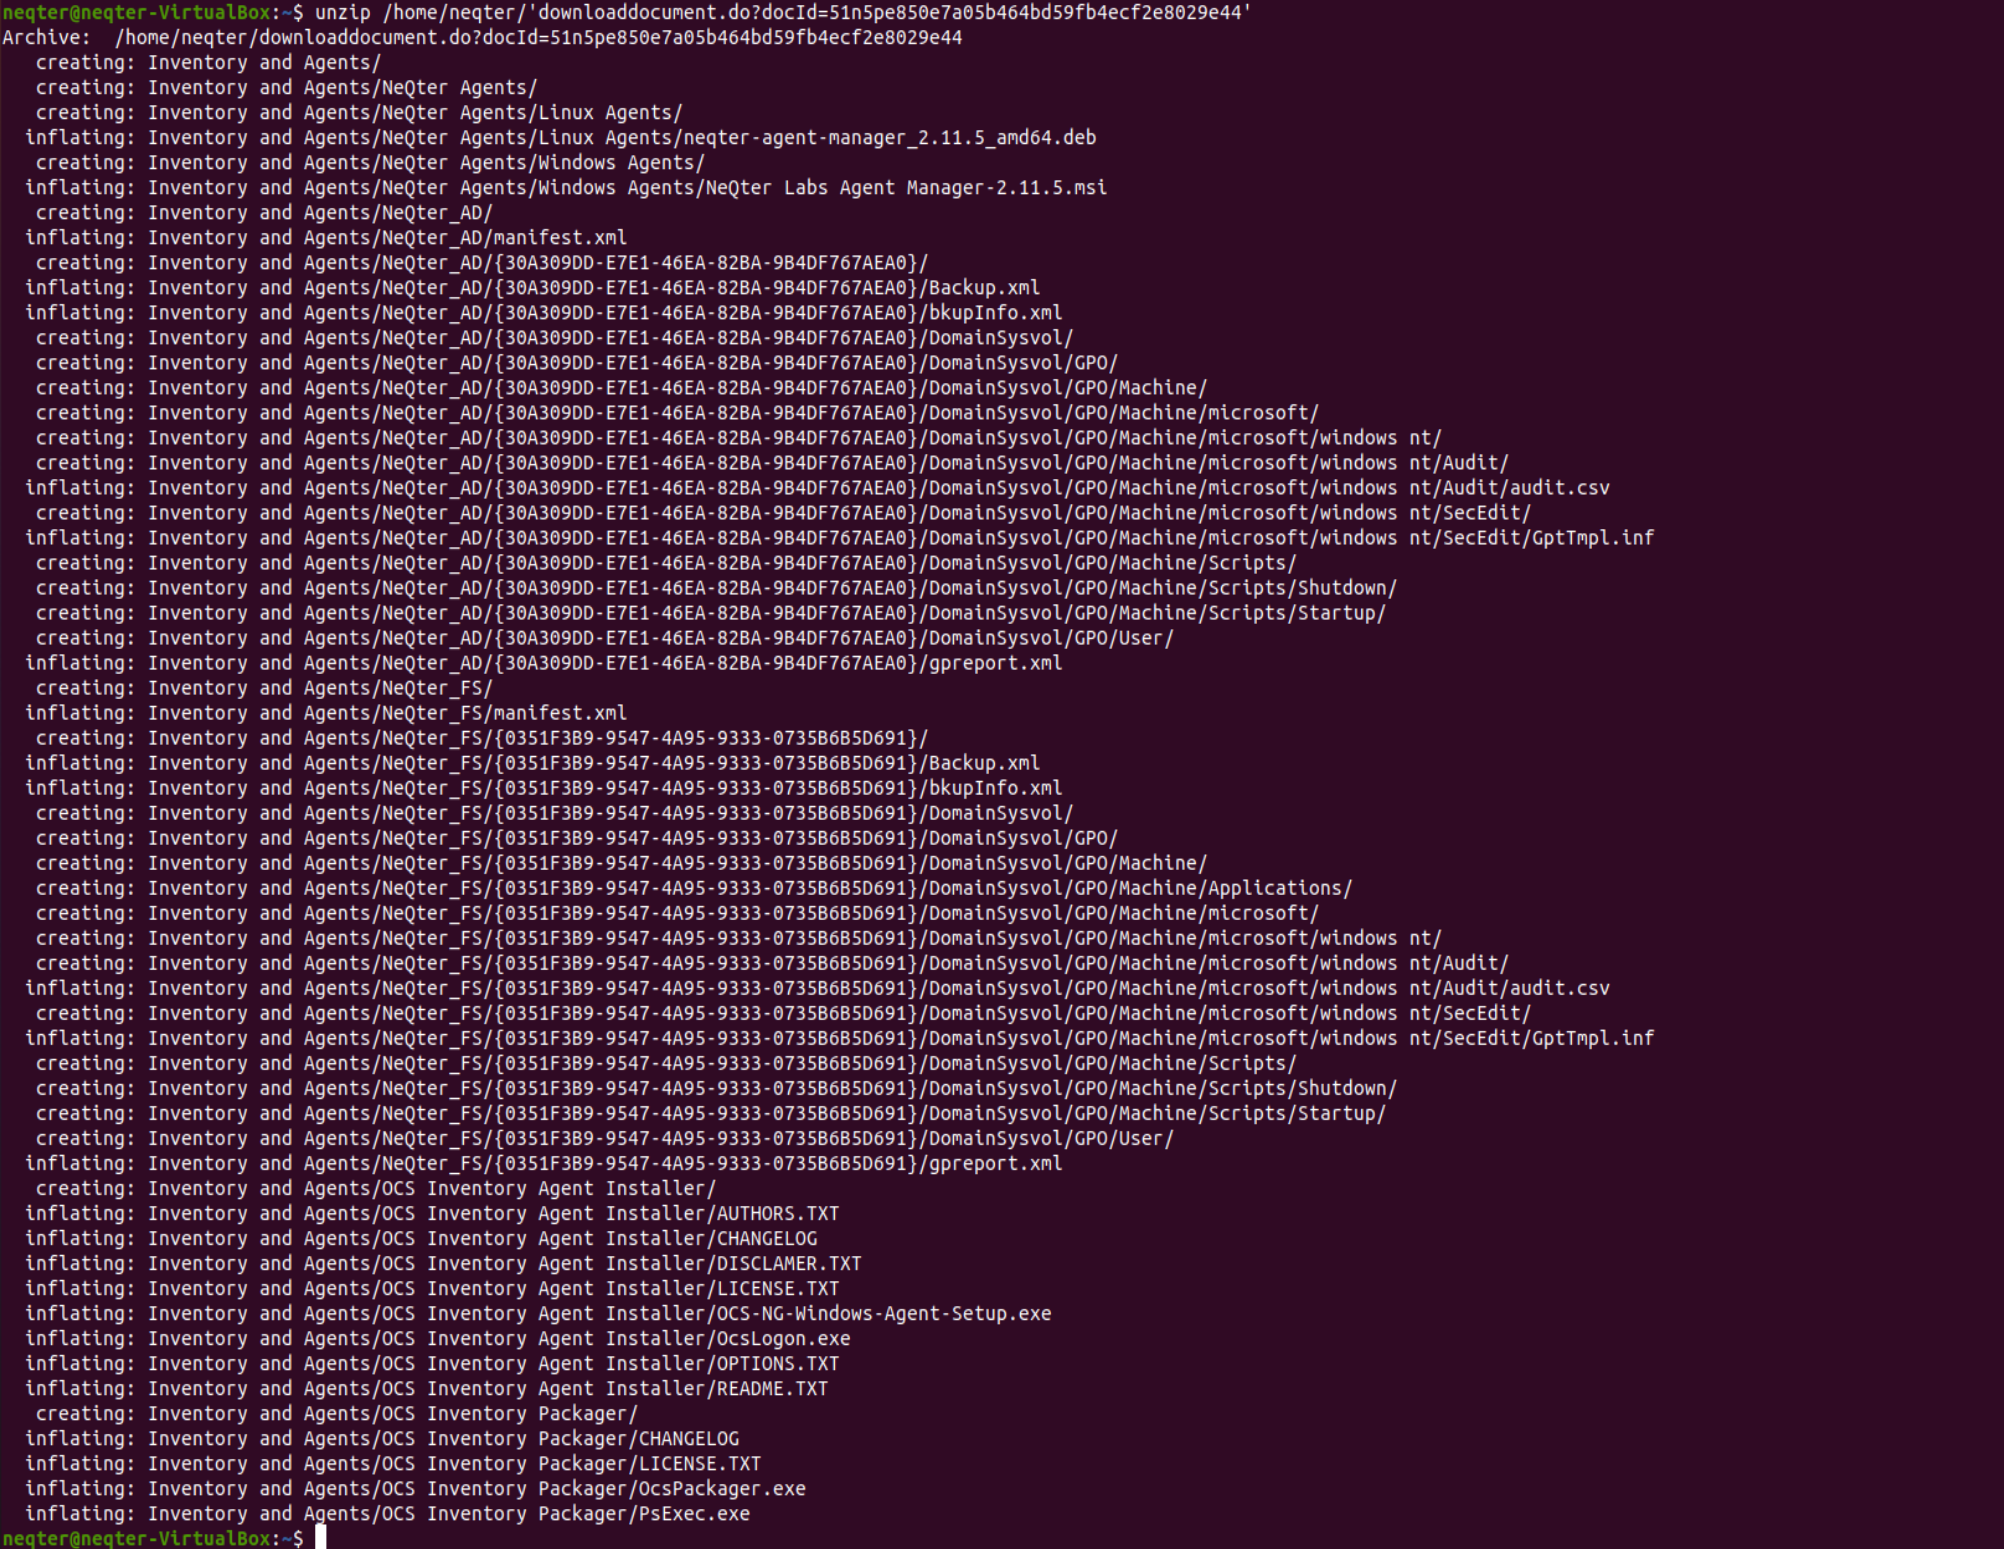
Once downloaded, using a software that can unzip files, unzip the folder. For this example we’re using the tool Unzip to unzip said files. Make sure when unzipping to have quotes (‘ or “) around either the entire path or parts of that path where file names have spaces located inside them (I.e NeQter Agents, Linux Agents and Inventory and Agents).
If you do not have unzip installed or an equivalent software on you local device, you can run the following command to download & install the software we used in the example above.
sudo apt install unzip
Step 3: Install file
After the file is downloaded & unzipped (if required) you can now install the linux agent. You can use the built in dpkg --install command to do so.
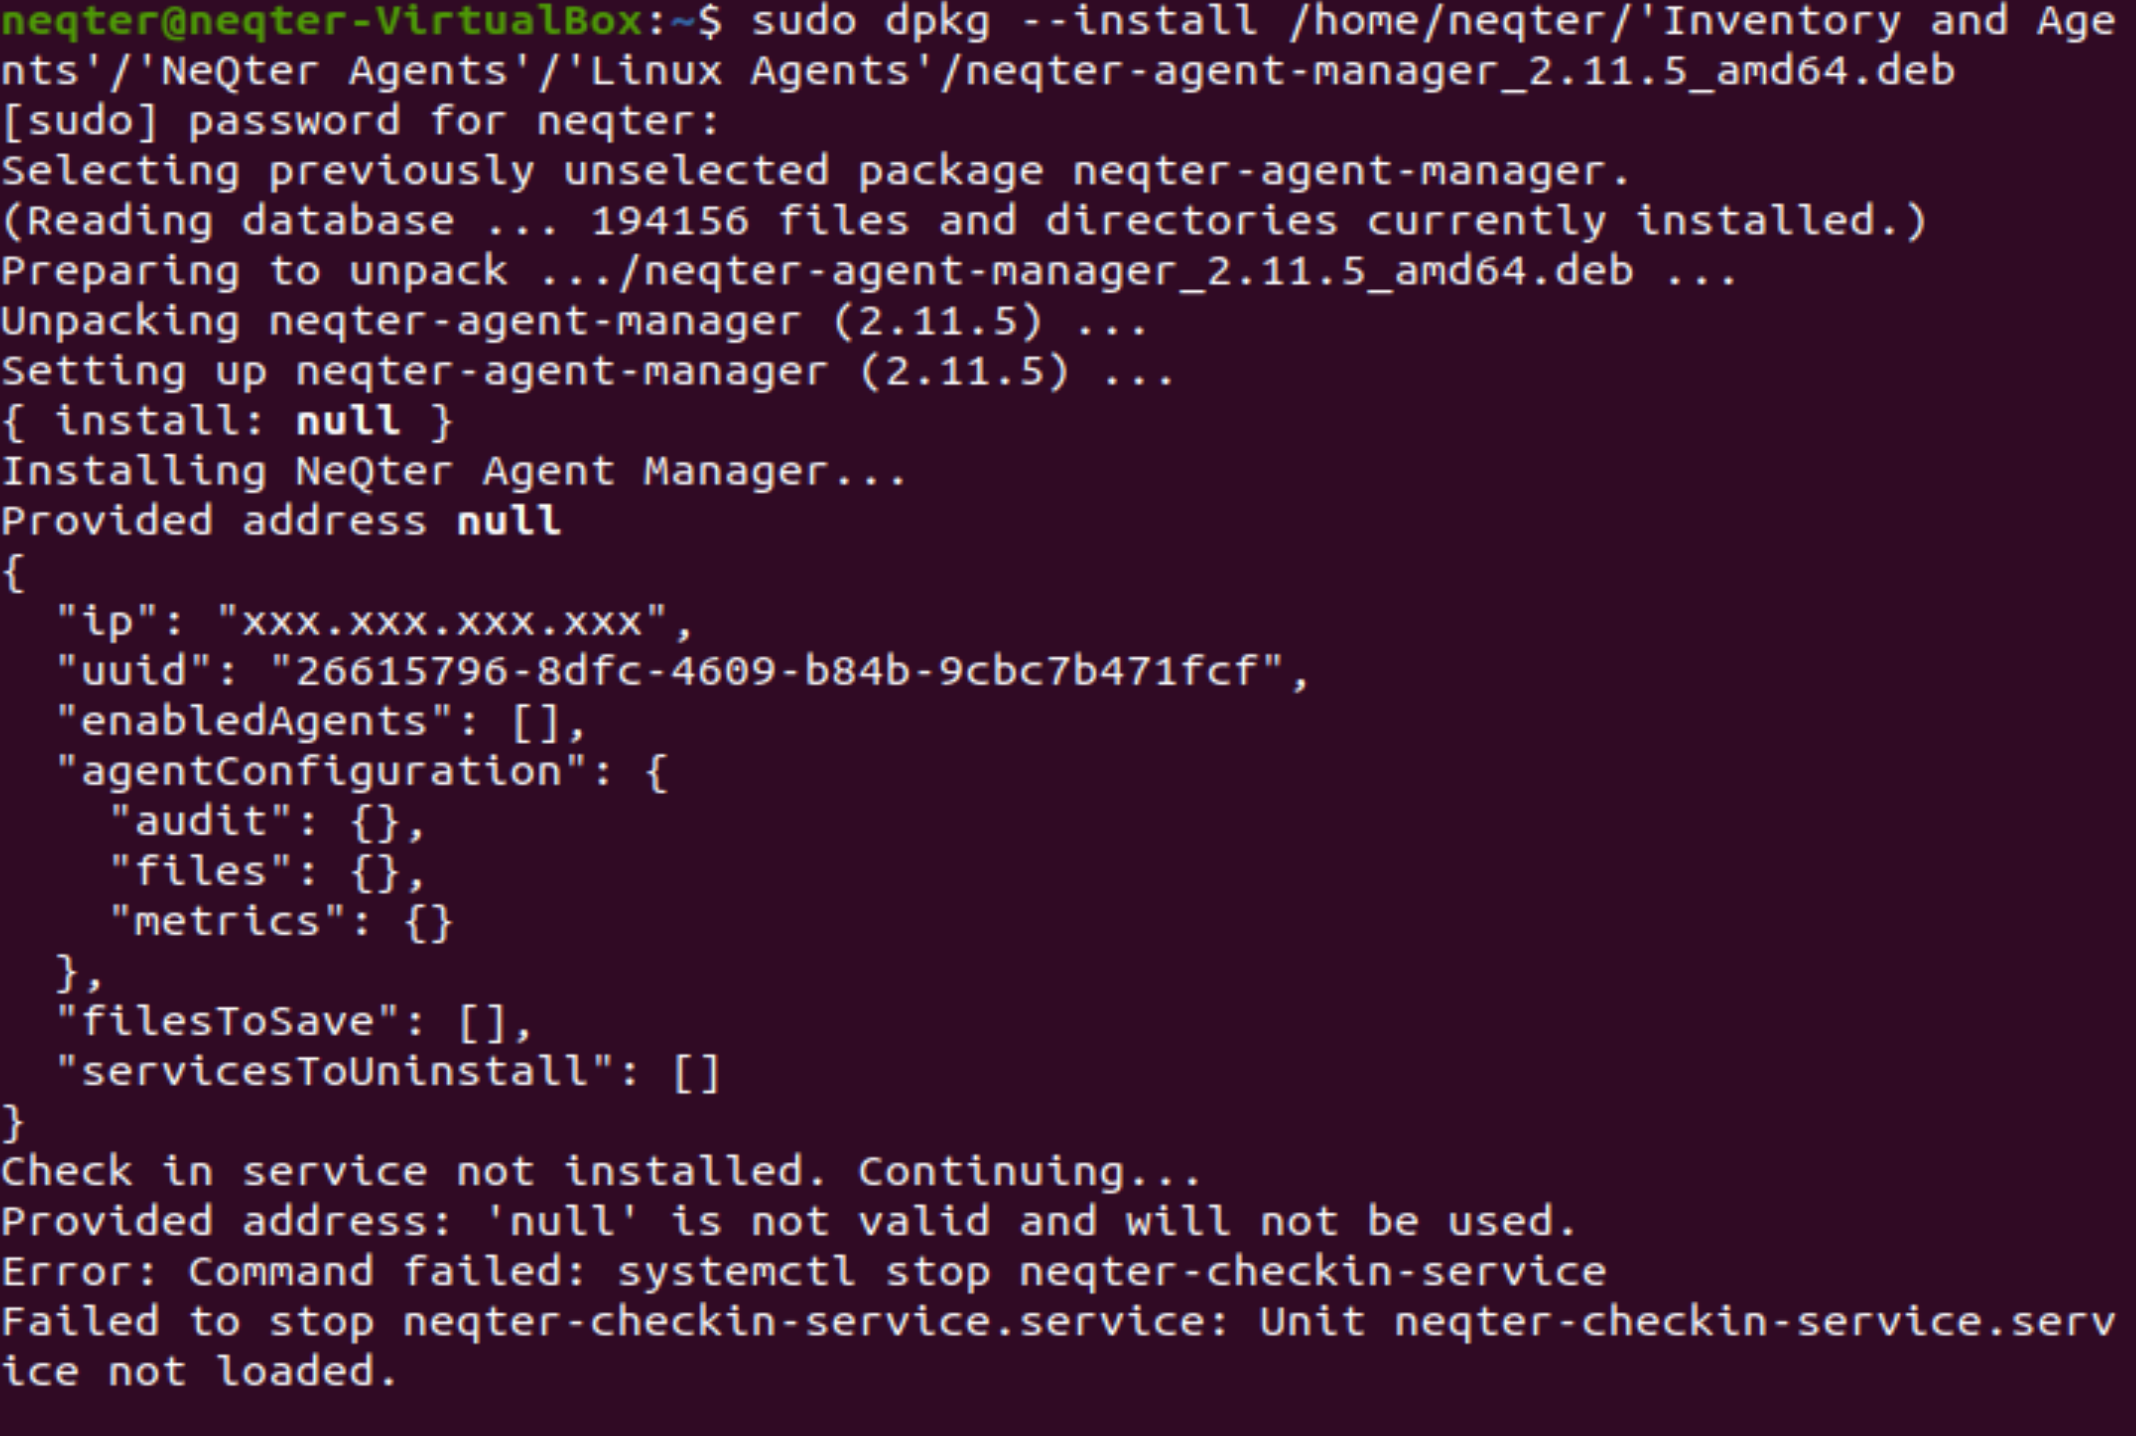
NOTE: Usually requires root in order to install, using SUDO before the command listed above will allow you to have the command ran as Root after filling out a password prompt.
If an error pops up when attempting to install stating that the installer failed to find the file path to install to, note down what file path it was trying to install to and create the missing directory by hand and attempt to install again. Below is an example command for doing so:
mkdir /usr/share/neqter_agent_manager
Step 4: Configure file
Lastly, locate the file contents once finished installing (usually found under /usr/share/). Inside the directory itself you should see a file called “Neqter Agent Manager”. Cd into the filepath for this directory’s current version subdirectory (2.15 for 2.15 agent, 2.18 for 2.18 version, etc). Once inside the folder, run the following command:
sudo neqter_agent_manager -- --change-address ###.###.###.###
If you use the -- --status instead of the change address command you can check there to see if the address applied. Within a few minutes the new linux agent should appear on the neqter box’s Agent page and be all set.
NOTE: Depending on the agent version being used instead of a -- --(cmd) it will be just --(cmd) instead without the additional two dashes. If a command being ran is not working try running it with just two dashes instead.